Thursday, August 28, 2014

Watercolor Textures

                              Hey Y'all!

                  Here is another tutorial on how to use textures/overlays/frames. There are many AWESOME  tutorials on YouTube that I love and will create a list at a later time to add at the bottom of this blog post. I've listed this Watercolor frame/texture on my Etsy store last fall. Listing HERE! I should have done tutorial on it and many others before now, but here we go!
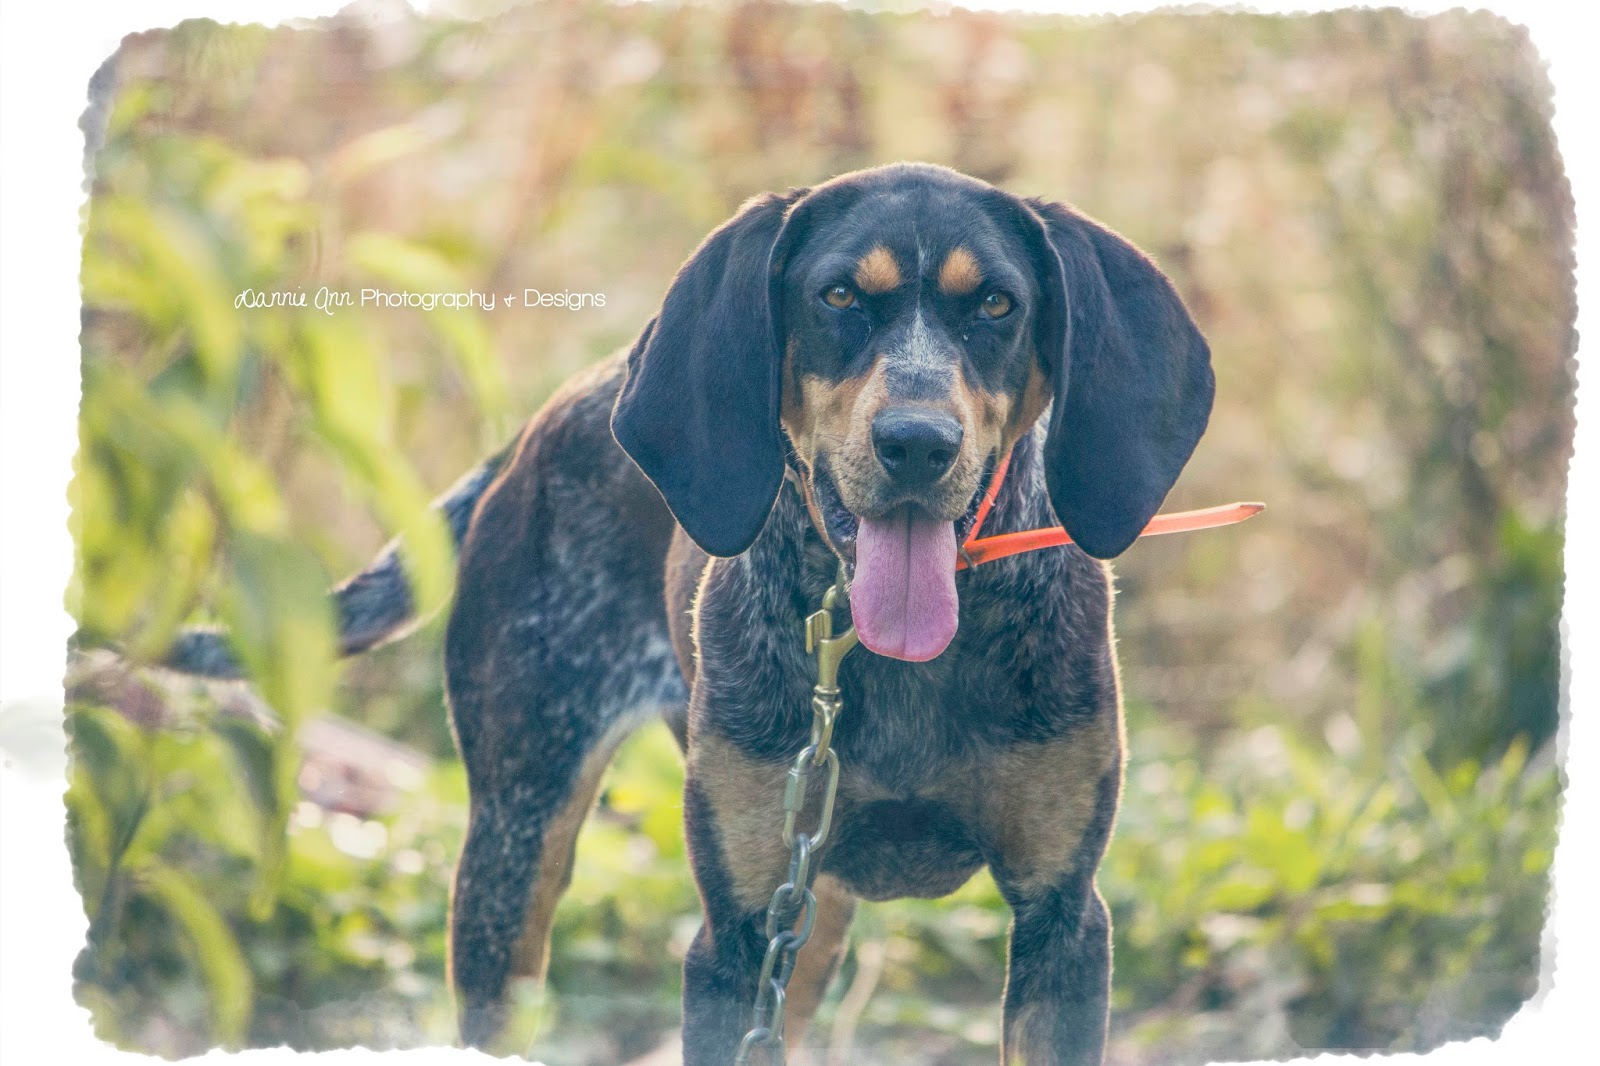
                   First open and edit the image you would like to apply the texture to in Photoshop, Gimp, or any other program that allows layers. I personally use Photoshop CS6 and love it. Maybe one day I'll adventure to Lightroom, but for now, I am studying Graphic Design. I am going to be using an image of my husbands hunting dog (or other wife) Stitch for this tutorial.
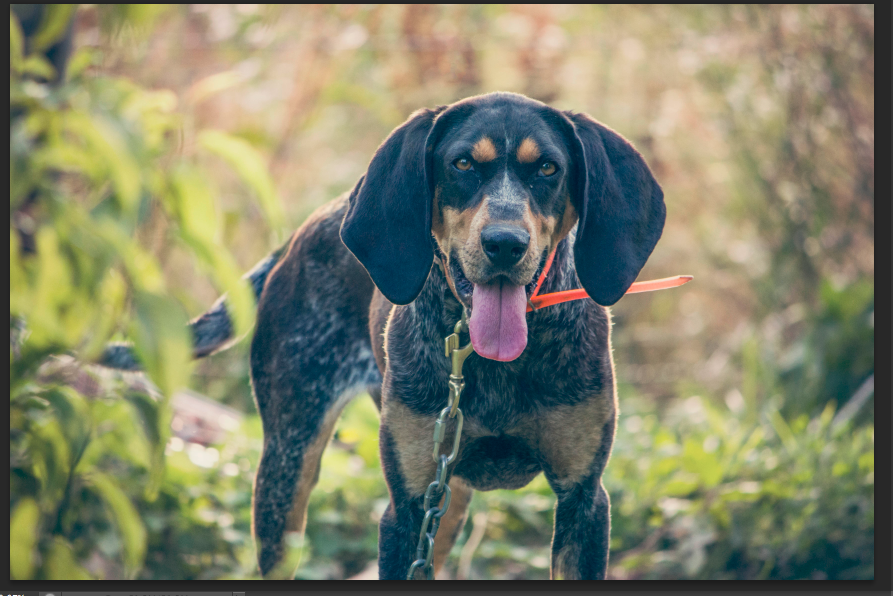
Isn't she pretty?

 PLACE one of the watercolor textures on top of the photo.
 It will come up not measured to the photo, 
so you will need to hold the shift key to pull 
the overlay to fit the photo.
 Almost there...
 Move to your satisfaction.
 Change your settings from Normal to Screen 
on the right side and wah-la!
 Wait... You want black and white?
Change settings to Saturation or Color. 
REMEMBER: Have fun!
 What if you want to bring the frame in... and 
want to "erase" the background?

The fastest and easiest way to "mask out" the 
background is to create a mask over the original 
image and use your black brush to paint your 
background goodbye.
To double check your background by adding a white layer
BELOW original image. 

Awesome...


Note: I'm not perfect, but I love Photoshop and all the abilities.

Never stop learning and improving and inspire others.

Enjoy! 


Friday, August 1, 2014

Caricature Progress


Hey Y'all,

I wanted to share one of my progression
of the Caricature for a friend.

I started by using one of her profile photos.


Sketched out in Photoshop

"Inked" in Illustrator 

Put back into Photoshop.

Painted colors...

Used HARPER FINCH papers

to add texture.

Close up...


Chose her boots...


Looking Fabulous!


 Proceeded to add background
using Harper Finch Papers.

So much fun!

Listing for Custom Caricature HERE!

ENJOY!


Thursday, July 31, 2014

Paint parties in progress!

Hey Y'all

   January of 2015 or 2016 I hope to have painting parties in full run (more than once a month). The first party I held was meant to be a Ladies Night out at Green River Arts - painting a wooden door hanger as a glass of Iced Sweet Tea - in the shape of a mason jar up with the phrase, "Welcome Y'all".
 It was such a great "starter" and I learned more than I could have with the most amazing women. It was a needed "Ladies Night".

As for "all door hangers?" No.. We plan to add canvas paint parties in the size of 16x20 for $40 each person OR $30 and bring your own canvas. HERE! is a link to Shut the Front Door Painting Parties website. Please note: Details are still in progress. I am currently enrolled in college to earn my Associates in Graphic Design. (Web Design is not my forte.) Until it is up and running I will be SLOWLY adding some of the templates I plan on Bringing to the Parties. ;)

Here is a quick step of this process. If you like what you see, expels your appreciation by liking my new page Shut the Front Door Painting Parties

STEP BY STEP!


 1. Begin by marking your canvas for the middle.

Doesn't have to be OCD. 

2. Free draw the mason jar or vase.

3. Mix your base or bottom color.

(My daughter got to my paint, so I had to use as much as I could without loosing my mind) 
In order to get the effect I wanted for the bottom of the canvas, it's best to not mix your colors completely (brush will have lines and will blend on canvas).

4. Choose your background (I chose mauve.)

My daughter had already created this color so I decided to make more of it.

Start with the corners and work your way around.

Leave space for potential flowers.

Do not be afraid of too much paint on brush or canvas. Best not to show original canvas. 

5. Outline mason jar or vase with dark blue.

6. Same with the green bottom put two colors on your brush and color your mason making sure to round your top and bottom.


7. Add a few lighter shades to add more effect. Highlights around side and top. 


8. Paint base of flowers. I chose to do hydrangeas. 


I started with white and used the light blue for depth from the light blue of mason jar. 


9. Let this dry and go back to mason jar.
            We are going to add stem with two leaves. 


Add more shading. 


Now add some of the blue/white to make it look like it is in a jar.  


10. Let's add a ribbon! 


11. Back to flowers. Add dots. 


12. Make mini flowers around your dots.

Don't forget to add more shading. 


13. Touch up ribbon. 


Looks dull - frumpy.


BAM! 

14. Touch up around jar or vase and lines around canvas. 
Otherwise known as OCD time. 


Look how awesome! If you notice the any lines that need touched up, straightened - 
fix up and REMEMBER keep it fun!

Here is my finished template posted on Instagram! @dannieanndesigns


So much fun! 

Enjoy!