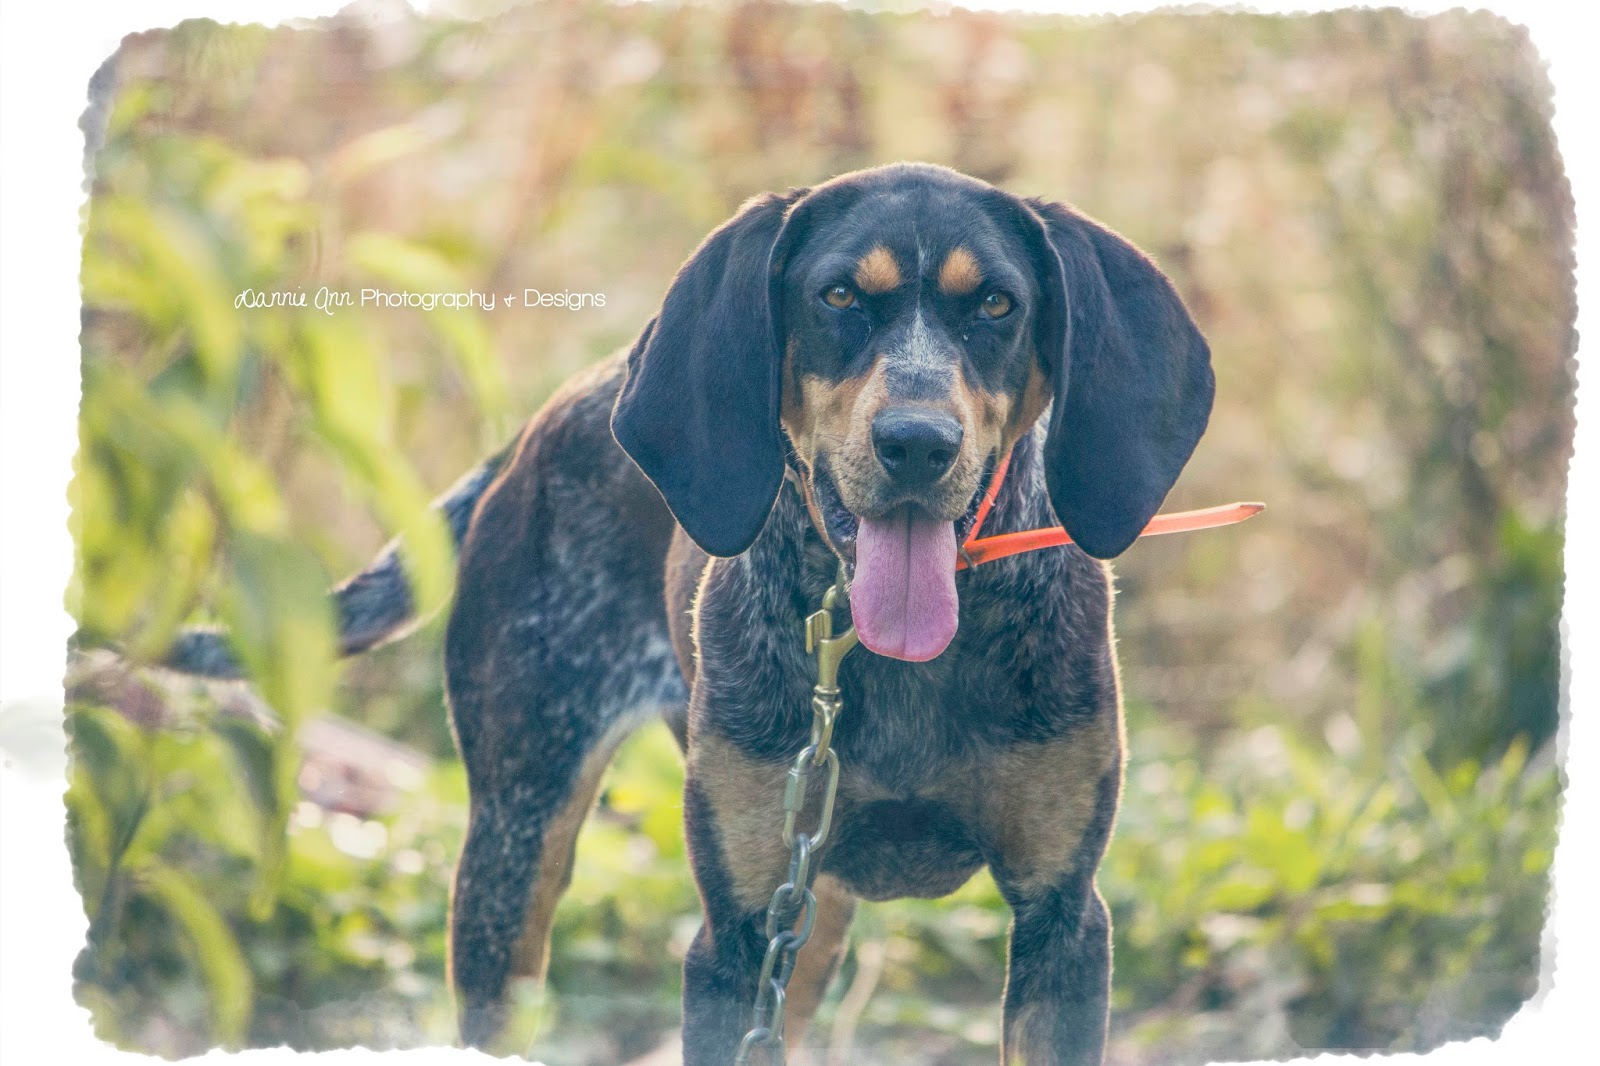
Here is another tutorial on how to use textures/overlays/frames. There are many AWESOME tutorials on YouTube that I love and will create a list at a later time to add at the bottom of this blog post. I've listed this Watercolor frame/texture on my Etsy store last fall. Listing HERE! I should have done tutorial on it and many others before now, but here we go!
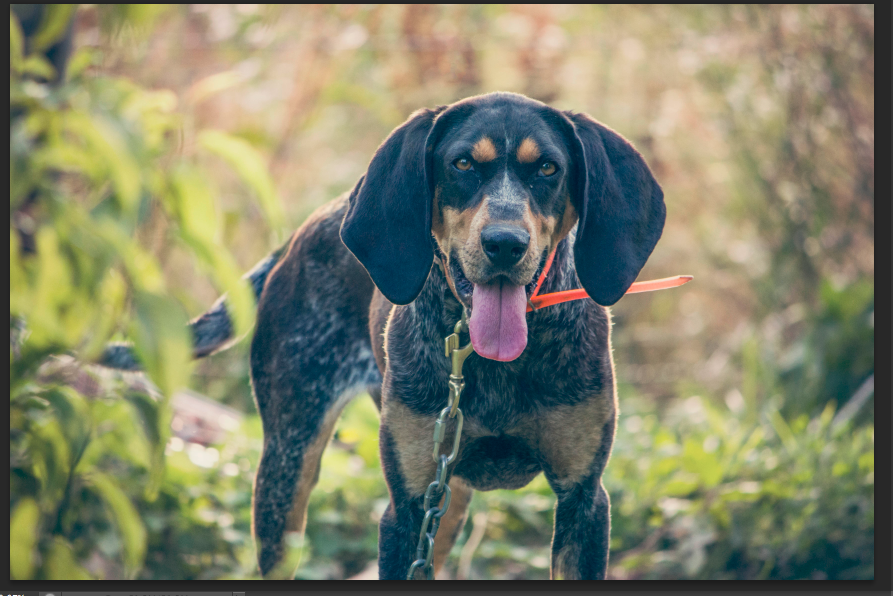
First open and edit the image you would like to apply the texture to in Photoshop, Gimp, or any other program that allows layers. I personally use Photoshop CS6 and love it. Maybe one day I'll adventure to Lightroom, but for now, I am studying Graphic Design. I am going to be using an image of my husbands hunting dog (or other wife) Stitch for this tutorial.

PLACE one of the watercolor textures on top of the photo.
It will come up not measured to the photo,
so you will need to hold the shift key to pull
the overlay to fit the photo.
Almost there...
Move to your satisfaction.
Change your settings from Normal to Screen
on the right side and wah-la!
Wait... You want black and white?
Change settings to Saturation or Color.
REMEMBER: Have fun!
What if you want to bring the frame in... and
want to "erase" the background?
The fastest and easiest way to "mask out" the
background is to create a mask over the original
image and use your black brush to paint your
background goodbye.
To double check your background by adding a white layer
BELOW original image.
Awesome...
Note: I'm not perfect, but I love Photoshop and all the abilities.
Never stop learning and improving and inspire others.
Enjoy!


